I know that unfortunately, I didn't get to all 10 of the recipes I wanted to make, however, I still have to say that I did like this book. I thought it included cute (and tasty!) recipe ideas for Halloween. I would indeed recommend this book for anyone looking for Halloween themed party ideas or who just is enthusiastic about the holiday. It gives a lot of fun ideas to take "ordinary recipes" and turn them into something special.
My next recipe book? Appetizers, Finger Food, Buffets, and Parties
Showing posts with label halloween. Show all posts
Showing posts with label halloween. Show all posts
Wednesday, November 3, 2010

Sunday, October 24, 2010
That Really Burns My Biscuits (Part 2)! Recipe: Abracadabra Hats
 Now these were easy to make. Super quick. I liked the taste of them, although I think I liked the Cheesy Bat Biscuits more. The thing I LOVE about these, though, is their flexibility!!! There are SO many options for these. You can make them more pizza-y and put sauce on them. You can put cheese on them. You can put different meats on them. So many different options. That's not to say that the option here is bad...because it's not. This recipe is also really good. It would make a fantastic appetizer at a party. However, it's recipe in which you can't be afraid to expand your horizons.
Pros: Flexibility, taste, easy clean up and easy prep. The pepperoni and salami add a really great taste to the biscuit.
Cons: I couldn't find the salami sticks they referred to here, so I had to buy a large roll (?) of salami, and then cut it when I went to put the hats together.
Like I said before, these would make a great appetizer at a party.
Ok, so here's the recipe:
Abracadabra Hats (from Halloween Food, Fun, and Crafts 2008)
1 package (8 ounces) crescent dinner roll dough

1/2 teaspoon dried basil
16 turkey pepperoni slices
3 to 4 salami sticks, cut into 2-inch pieces
2 cups pizza or marinara sauce
Preheat oven to 375. Separate dough and place individual pieces on work surface. Gently shape each piece into long triangle. Sprinkle triangles evenly with basil. Cut pepperoni slices into crescent shapes using small cookie cutter or knife. (Each slice will make 2 crescents) Place 1 salami stick piece along base of each dough triangle. Partially roll up dough to cover salami and create brim of hat. Place 2 pepperoni crescents on top part of each hat; place on ungreased nonstick baking sheet. Bake 12 minutes or until golden brown at edges. Meanwhile, warm sauce in small saucepan over low heat. Serve hats with warm pizza sauce for dipping.
Makes 8 servings.
If you come across the same problem I did with the salami, just take some salami and cut it into thin, long pieces. That's what I did and it worked out great.
Summary:
Grade: A (because of salami)
Cost: Minimal
Prep: Minimal
Clean up: Minimal
That Really Burns My Biscuits (part 1)! Recipe: Cheesy Bat Biscuits
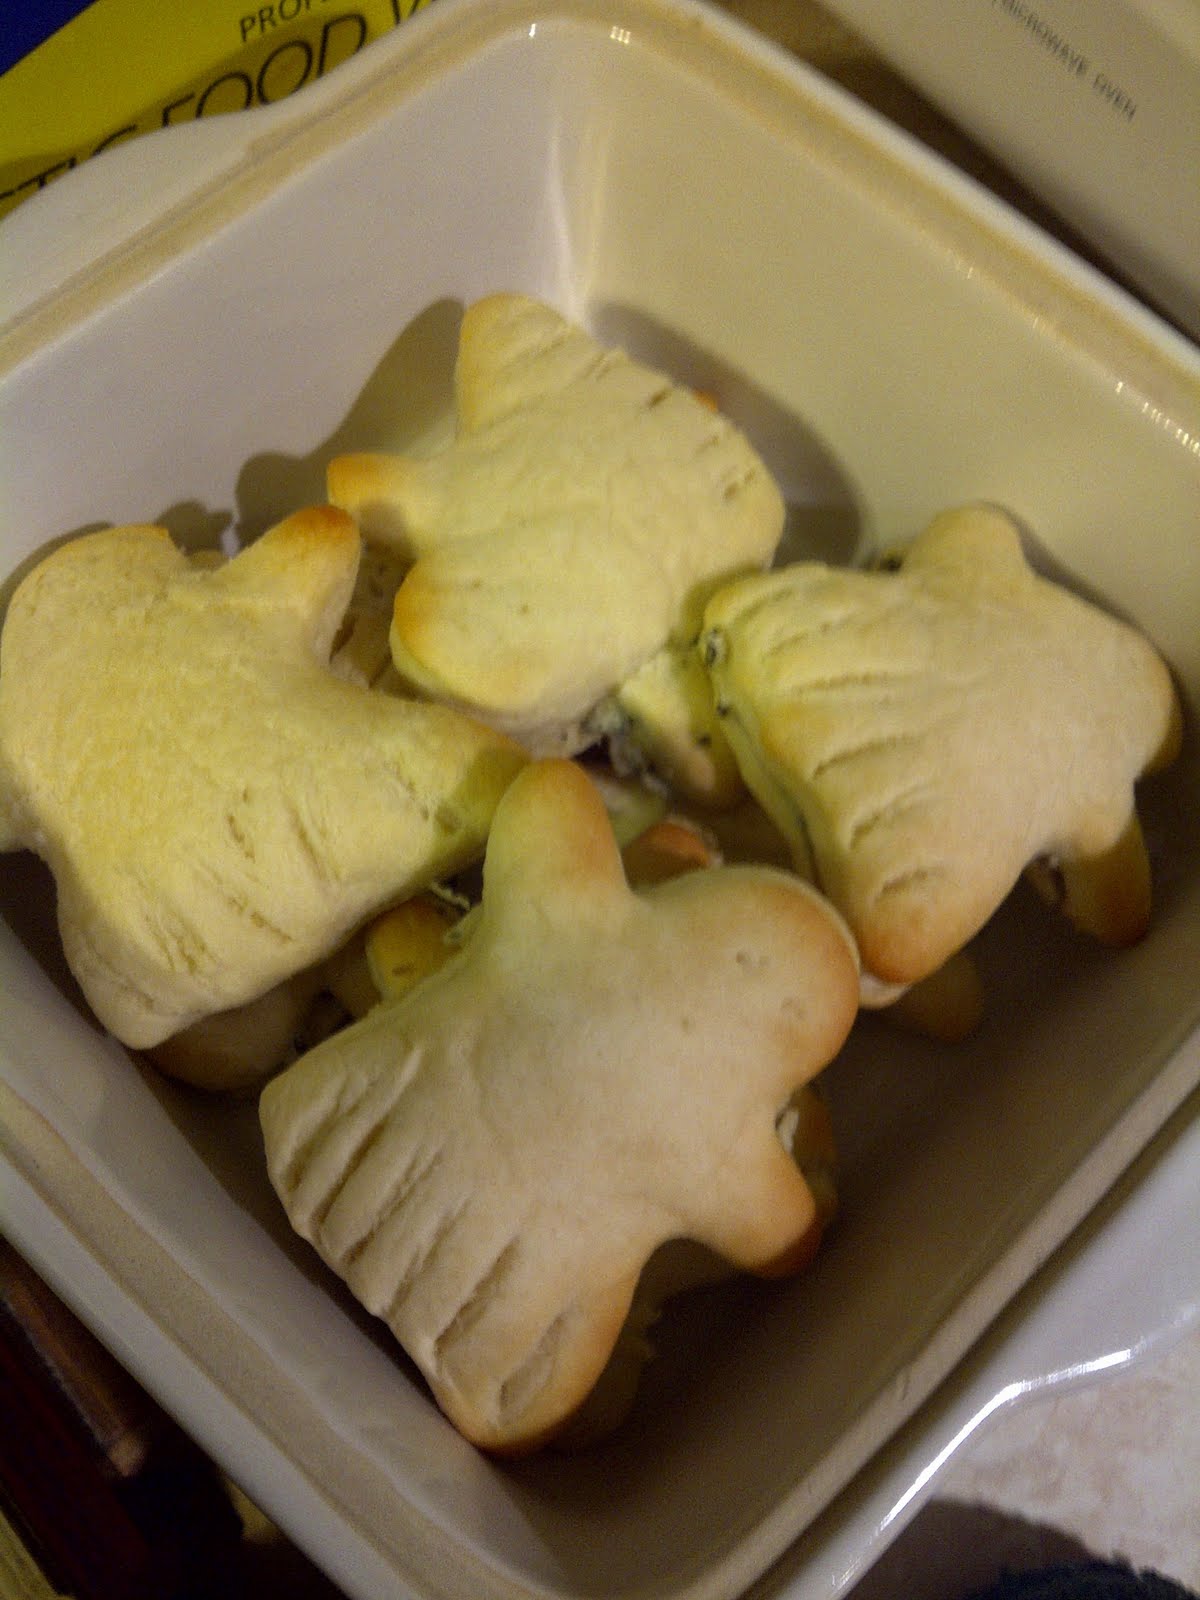 Ok, so they aren't actually bats...they're ghosts, but the outcome (taste-wise) was still the same, I'm sure. I did enjoy these. For how simple they were, I thought they were creative. The taste was different. They were a great substitute or replacement for garlic bread. I found the parsley and basil combination particularly grand. They complemented more than they were overbearing. If you have a pasta dish, these would be fantastic to go on the side.
Pros: Delicious and easy to make. The clean up was easy too. The taste was different (in a really good way!).
Cons: A lot of waste with the biscuits. In fact, I think I threw more dough away than I baked. I really was not happy about that. However, you could get around that by making the entire biscuit (without shaping them with a cookie cutter), or you could reuse the dough. I chose not to, though. I didn't realize I would be throwing so much out.
Things this recipe would be good for? Honestly, it doesn't make that much and you'd be probably spending a lot of time if you made them for a party. I'd say this recipe is great for a family meal. If you have small kids (or you are 5 at heart, like me), the cookie cutter effect is really neat. You could probably double the recipe of you have a large family or want to make it for a guest without too much trouble.
Annnnddddd here's the recipe:
Cheesy Bat Biscuits (from Halloween Food, Fun, and Crafts 2008)

1 can (16 ounces) jumbo buttermilk biscuits
3 tablespoons butter, melted and divided
1/4 cup grated Parmesan cheese
1 teaspoon dried parsley flakes
1 teaspoon dried basil
Preheat oven to 35o. Flatten each biscuit into shape just large enough to fit 3-inch bat cookie cutter. Cut out bat shape; discard scraps. Place biscuits on baking sheet. Lightly score biscuits to outline bat wings; poke holes with toothpick for eyes. Brush biscuits with 1 tablespoon butter. Bake 7 minutes. Meanwhile, combine cheese, remaining 2 tablespoons butter, parsley, and basil in small bowl. Turn biscuits on end and split into halves with forks. Spread 1 teaspoon cheese mixture on bottom half of each biscuit; replace biscuit top. Bake 3 minutes or until biscuits are golden brown.
Makes 8 servings.
That's all!
Grade: A- (because of waste)
Cost: cheap
Prep time: Minimal
Clean up: Minimal
Sunday, October 10, 2010
Recipe: Monster Mash Spread
 I was very enthused to start my new cookbook yesterday, so I started off with this cheese spread.
My general take? Unlike the cheesecake, I actually tried it, hahaha. I LOVED it. It was very simple to make, easy cleanup, and it tasted great. The only downfall was that I wish it had been a little creamier. Other than that, I thought it was very catchy and it would be perfect dip for a Halloween party...or any party really.
Pros: Easy cleanup, quick to make, tasted great! Few ingredients and you didn't have to cook anything.
Cons: You have to wait for at least 1 to 2 hours before you can serve it.
Like I said, I would highly recommend this for a party, either at the office or for the holiday.
Ok, so here is the recipe:
Monster Mash Spread (from Halloween Food, Fun, and Crafts (2008))

1 package (8 ounces) cream cheese, softened
2 cups (8 ounces) shredded Monterey jack cheese with Jalapeno peppers (Pepperjack cheese)
1/2 cup chopped green bell peppers
1/4 cup finely chopped green onions
3 to 4 green onions, tops only (optional)
Assorted crackers
Line 8 or 9 inch round cake pan with foil. Spray with nonstick cooking spray (Pam); set aside. Combine cream cheese, pepperjack cheese, bell pepper and chopped green onions in medium bowl; mix well. Spoon into prepared pan; press mixture evenly into pan. Cover; refrigerate 1 to 2 hours or overnight. Using scissors or small knife, cut each green onion top lengthwise into long, narrow strips; place in bowl of ice water. Refrigerate until strips are curled, about 2 hours or overnight. When ready to serve, invert pan onto large platter or serving tray; remove pan. Discard foil. Garnish with green onion curls, if desired. Serve with crackers. Makes 2 cups spread. Tip: Substitute shredded Cheddar cheese for pepperjack. Drain 1 can (4 ounces) chopped green chiles and stir into cheese mixture before spreading into prepared pan.
That's it!
When I made this I tried to keep in mind that people would be dipping crackers into this, so I tried to make the chopped bell pepper small so that it would fit on the cracker.
I just have to say that I'm very enthused for this cookbook since I'll be doing a couple of things to take me out of my comfort zone of what I can do now. Very excited!
Until next time...
Subscribe to:
Posts (Atom)