Showing posts with label vegetables. Show all posts

Sunday, August 4, 2013

Sour Cream and Onion Dip

This one comes directly out of Cooking Light’s August 2013 issue.  It was quite delightful and smooth. I dipped carrots, celery, lentil chips, and orange bell pepper.  The carrots and lentil chips were my favorite options. The dip was really delightful and extremely fast and easy to make. I highly recommend it for casual parties.

I did make some tweaks, though since the recipe originally called for canola oil (mmm..healthy…NOT) and canola mayonnaise.  See below:

1 teaspoon olive oil
2 cups finely chopped sweet yellow onion (it took me 2 onions to reach this- one large and one small)
1 tablespoon minced fresh garlic
¼ teaspoon salt, divided
1 cup reduced fat sour cream
½ cup safflower mayonnaise
2 tablespoons minced fresh chives, divided
¼ teaspoon ground black pepper (they originally used white, though)

Heat a small skillet over medium-high heat. Add oil to pan; swirl to coat. Add onion, garlic, and 1/8 teaspoon salt; cook 4 minutes, stirring frequently. Reduce heat to medium-low; cook 6 minutes, stirring frequently. Cool onion mixture slightly.

Combine sour cream, mayonnaise, 1 ½ tablespoons chives, pepper, and remaining 1/8 teaspoon salt in a large bowl. Add onion mixture; stir well. Top with remaining 1 ½ teaspoons chives.

Serves 12


Enjoy!

Saturday, July 13, 2013

Gluten Free Zucchini-Walnut Bread

I made this absolutely delicious zucchini-walnut bread today.  When I say delicious, I mean my family and I (three of us) almost ate the whole thing in one sitting.  Moist and not too sweet, I made it to accompany dinner. I was really surprised that the bread actually rose (if you aren’t used to gluten-free cooking, not many doughs actually rise).  I HIGHLY recommend this recipe.  AND! It’s gluten-free. It’s not candida-friendly since it contains maple syrup, but it does have a good amount of fat in it and some protein (which is great if you are a fast oxidizer like me!).  Below is the recipe, which I tweaked because it was originally a Betty Crocker recipe and no offense to Betty, but she "ain’t" all that healthy.


Gluten Free Zucchini-Walnut Bread

½ cup pure maple syrup (if you don’t feel it’s sweet enough, you can still add up to another ¼ cup in order to get the equivalent of the cup of sugar that the original recipe called for)

2 brown, organic eggs

2/3 cup olive oil (If you aren’t using olive oil to bake, I suggest using it.  Your baked goods are guaranteed to always come out moist.)

1 teaspoon vanilla

1 ¼ cup gluten-free all-purpose rice blend (Note: I used one that already had guar gum in it, but if you are using one that doesn’t have guar or xantham gum, then add ½ teaspoon xantham gum to the recipe)

1 teaspoon gluten free baking powder

1 teaspoon ground cinnamon

½ teaspoon baking soda

¼ teaspoon sea salt

2 cups shredded zucchini

½ cup chopped nuts

Heat oven to 350°F. Lightly grease bottom only of 9x5-inch loaf pan (I used coconut oil to do this and the bread slipped right out when it was done). In large bowl, beat maple syrup and eggs with electric mixer on medium speed until well blended. Add oil and vanilla; beat until smooth. In medium bowl, mix flour blend, baking powder, cinnamon, xanthan gum (if needed), baking soda and salt. Gradually beat into egg mixture on low speed until blended. Stir in zucchini and nuts. Pour batter into pan. Bake 1 hour to 1 hour 10 minutes or until toothpick inserted in center comes out clean. Cool in pan 15 minutes. Remove from pan to cooling rack; cool completely, about 2 hours.

Enjoy!!!

Tuesday, March 1, 2011

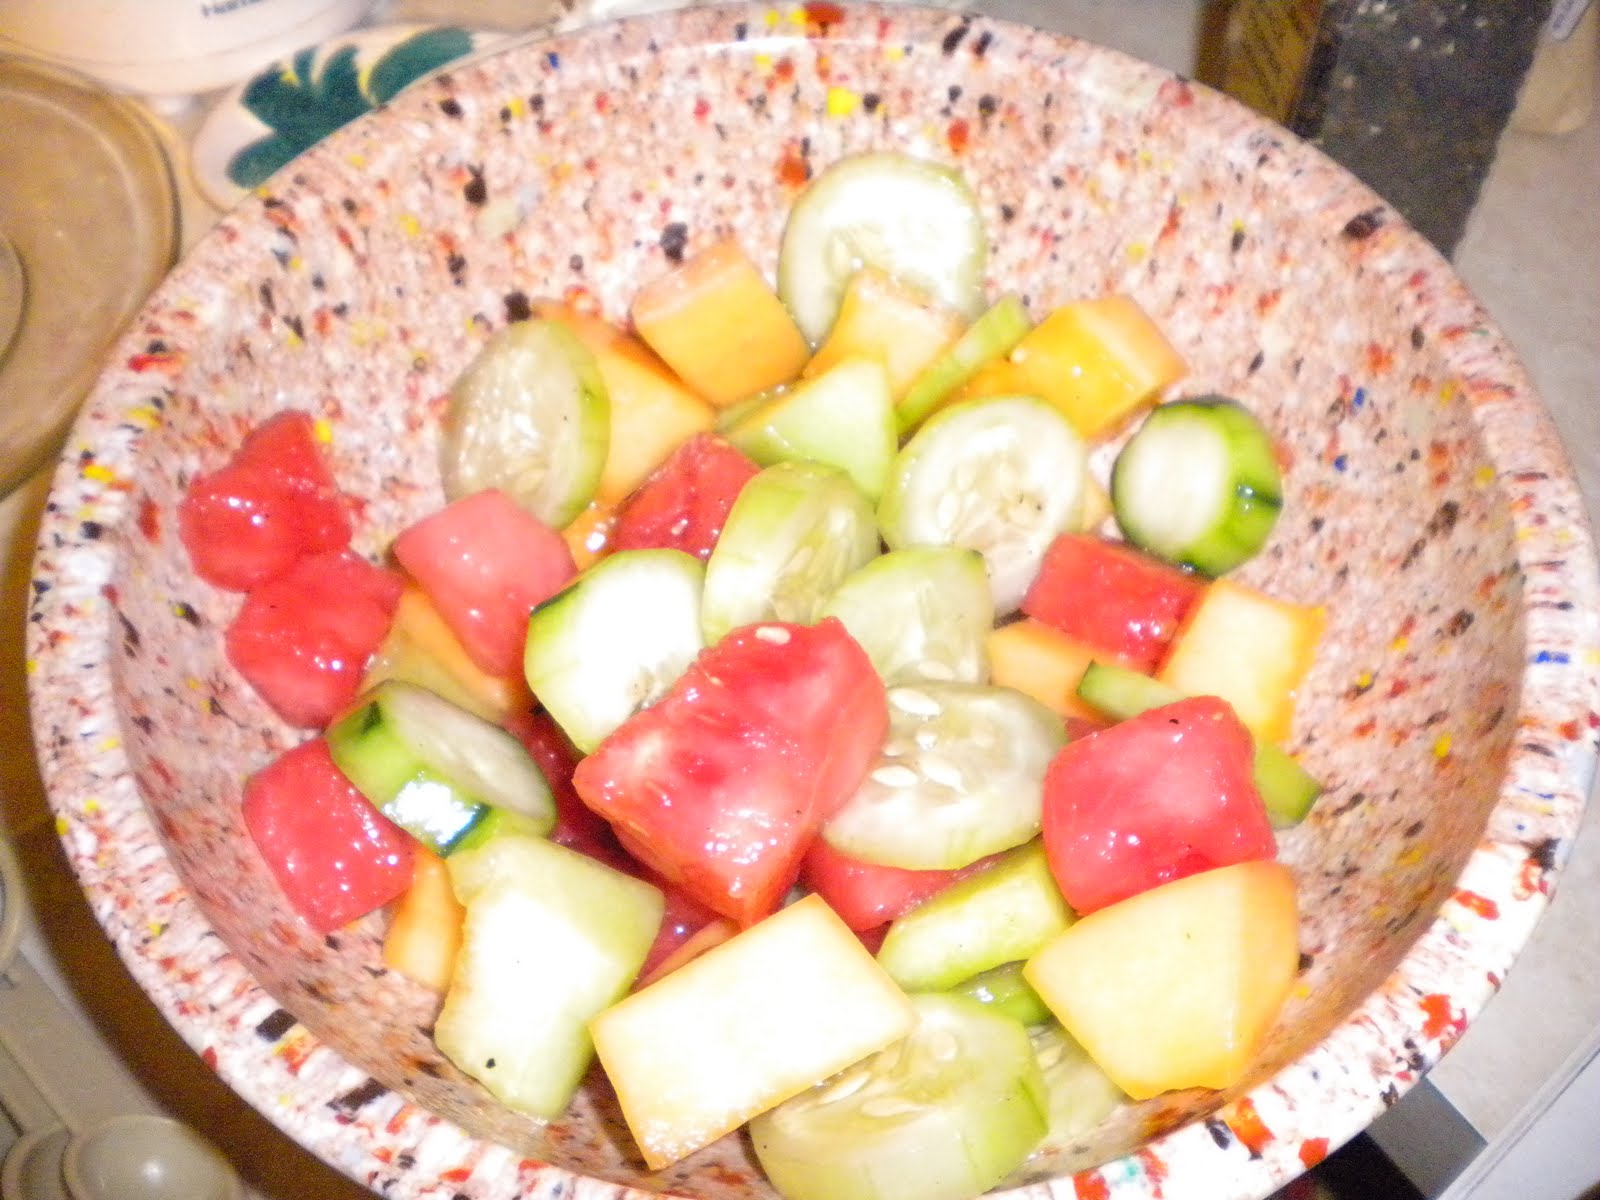
Recipe: Melon Cucumber Salad

Recently I've been into "eating healthier", which means eating more fruits, vegetables, and grains. I figured I'd start off with a salad, and I have to say that this was a great choice. It was a nice little pick-me-up, since February is such a depressingly dreary month. Warning though: it is a summer salad, so the ingredients (specifically the melon) will be slightly more expensive.

Taste: It is wonderfully refreshing. When I first ate this, I thought that it needed a different dressing because I didn't soak the melon for all 8 hours, but I have to say- the longer the melon sits in the oil and dressing, the better it is. The next day, this salad was fantastic, and it definitely did not need a different dressing. So, lesson- soak it for all 8 hours...at least.

Grade: A

Cooking: Extremely easy. The only thing is getting the melon and it has to soak for a while.

Grade: A

I would definitely serve this during the summer at any time.

Here's the recipe:

Melon Cucumber Salad (from Summer Fresh Fruits and Vegetables, 1989)

1/4 cup vegetable oil
2 tablespoons lemon juice
1/2 teaspoon sugar
1/4 teaspoon salt
Dash of freshly ground pepper
3 cups 3/4-inch pieces melon (honeydew, watermelon, cantaloupe)
2 small cucumbers, thinly sliced
Assorted salad greens

Mix oil, lemon juice, sugar, salt, and pepper in tightly covered container; toss with melon and cucumbers. Cover and refrigerate up to 8 hours. Drain; toss with salad greens.

Sunday, October 17, 2010

Recipe: Night Crawler Veggie Rolls

I was very excited for this recipe. I've had spring rolls in other restaurants, so I was very excited to try and make my own. I have to admit, I was quite impressed with myself. I didn't bother with the garnish for this recipe, though, since I thought the recipe itself would be enough of a challenge for me. A quick note, though: it is a little spicy. I'm not sure if it's the cabbage (although, I assume that's what it is), but something in it is a little spicy. The peanut sauce I bought was also a little spicy. The recipe suggests that you use either sweet and sour or a peanut sauce. I've previously had a peanut sauce served with it, so that's what I bought. If I did this again, I'd probably go for the gold and just make my own.

So, pros: The outcome is great! It's super healthy, and I LOVE the taste of the sesame oil. Also, all of the ingredients were easy to find (except the bean sprouts were sold out almost everywhere I went...).

Cons: There was a long prep time. Also, the instructions in the recipe on how to roll these aren't very good. After messing up three of them, I came up with my own way to roll them (I'll provide that after the recipe), which gave me far more success. I have to warn you, though, these do get a little messy when you eat them. The skins tend to fall apart easily. Lastly, I suggest salting to taste when doing this. I thought it asked for less salt than what I like, but that's just me.

These are great for a party as an appetizer. They are also great as a healthy snack or just as a side dish for dinner.

Ok, so here's the recipe:

Night Crawler Veggie Rolls (from: Halloween Food, Fun, and Crafts 2008)

Ingredients:

1/4 cup sesame oil
1 teaspoon freshly grated ginger
1 teaspoon minced garlic
2 cups snow peas, cut into matchstick-size pieces
2 large carrots, shredded
1 onion, cut into matchstick-size pieces
1 red bell pepper, cut into matchstick size pieces
2 to 3 cups shredded Nappa cabbage
2 cups bean sprouts
1 teaspoon salt
1 teaspoon black pepper
1 package (12 ounces) spring roll wrappers (can be found in Asian food sections of most supermarkets)
Sweet and sour sauce (optional)
Peanut sauce (optional)

Directions:

Heat oil, ginger, and garlic in wok or large skillet over medium heat. Add peas, carrots, onion, and bell pepper; stir-fry 2 minutes. Add cabbage, bean sprouts, salt and black pepper; stir fry 2 more minutes. Remove from heat and cool.

Dip spring roll wrappers in hot water until soft. Position wrapper with one point facing down. Place about 2 tablespoons vegetable mixture in narrow strip across lower half of wrapper. Fold bottom point up and over vegetables and tuck under filling. Roll packet up once to enclose filling securely. Fold sides in tightly, forming an envelope. Brush edges with additional hot water to seal; finish rolling.

For creature features, cut tiny eyes and mouths in wrappers and add additional vegetable strips for antennae. Repeat with remaining filling and wrappers. Cover with plastic wrap and refrigerate. Serve chilled with sweet and sour sauce and peanut sauce, if desired.

Makes 18 to 20 rolls.


Ok, so here's my tip for the rolling. First of all, when I tried it their way, I found that the wrappers were WAY too wet to stick together. Once I rolled them and picked them up, they fell apart instantly. So here's what I did- after dipping them in hot water, I laid the shell on a paper towel and took another paper towel and very lightly dabbed any extremely wet spots on the top of the shell. This made the shell sticky instead of wet. Warning, though: Don't make them too sticky/dry or else it'll stick to the paper towel. After this, I put my filling at the bottom of the wrapper (my wrappers were circular). I tucked the bottom end (littlest end) over the filling and under, like the recipe says. Then, I folded both sides over, so the filling didn't spill out the ends. Then I took the long end and folded it over and continued rolling until it was done. Voila! Hope that helps...

So, what did I learn out of this recipe?? Well, I learned what a "matchstick-size" cut is. It's when you cut something into long narrow strips. I also knew what "shredded" was, but somehow, I got a better understanding of it. Lastly, I learned how to roll and I dealt with the wrappers for the first time. Over all, I think it was pretty awesome.

Summary:

Over all grade of recipe: B+

Cost of ingredients: $20-$30

Prep time: Long

Saturday, March 6, 2010

Recipe: Garlic Mushrooms

Garlic Mushrooms:

2 tbsp light olive oil or 1 oz butter
1lb closed cup mushrooms (you can find a 1lb box of mushrooms in the produce section at Weis)
Salt and freshly ground black pepper
4 cloves garlic, peeled and minced
1 tbsp parsley, finely chopped
Juice of 1/2 lemon

Heat the oil or butter in a very large frying pan. Add the whole mushrooms and fry gently for 10 minutes or so. Cover for the first couple of minutes, then stir occasionally to assist the steaming process.

Turn up the heat, season well and add the garlic. Continue to stir and cook until most of the liquid has evaporated and the mushrooms are no longer steaming, for another 5 or so minutes. Finally, sprinkle on the parsley and lemon juice, then stir through. Thread a couple of mushrooms on each cocktail stick and serve warm (I didn't thread the mushrooms).

- Recipe from Tapas by Tomas Garcia

My first impression? Loved it.

The mushrooms were tender and the taste was amazing. The lemon and the fresh parsley added a unique flavor to them that really caught me. Surprisingly, the garlic wasn't too much. I used olive oil instead of butter, and thought it was a great choice.

After a day or two, the mushrooms had a different flavor. When I first made them the lemon and the parsley were almost the only things I could taste. However, after a little while the flavors evened out and I thought they tasted even better.

Over all, definitely a win. They were quick to make and there were no expensive or rare ingredients. They are definitely best with some sort of beef. I had them with spare ribs, which was also good. I will definitely be making these again.